-
Helmet Features
-
How long does the battery last?

With a full charge Ultra will last up to 10 hours in slow flashing mode with the lights set on maximum brightness - and even longer if you adjust the brightness and frequency in the Lumos App.
-
How do I know I need to charge my helmet?

When the battery on the helmet is low, the power button will start flashing red. At this point there is approximately 30min of charge left in the helmet. When the battery of the helmet is critically low and is about to shut off, before it does so, the helmet will beep several times to inform you that it is about to shut off.
You can also connect the helmet to the Lumos App and check the remaining battery level on your smartphone.
-
How long does it take to charge my Ultra helmet? How do I know if it is charging?

It will take about 3-4 hours to fully charge your Ultra helmet. The Ultra helmet has a light close to the power button which breathes red when charging and turns green when fully charged.
-
No light shows during charging. What's wrong?

1. Please make sure the charging cable is plugged into the helmet correctly.
2. Try plugging the USB-C cable into different outlets and/or USB ports.
3. To confirm that it's not a fault with the charging cable, try to use another USB-C cable with your Ultra helmet and see if charging resumes.
-
Can I turn off the front and rear lights on the Lumos Ultra and use the turn signals only?

Yes, you can use the Lumos App to turn off the front and rear lights while still being able to use the turn signals.
1. Turn on your Lumos helmet and make sure it’s paired to the app.
2. Launch the Lumos app.
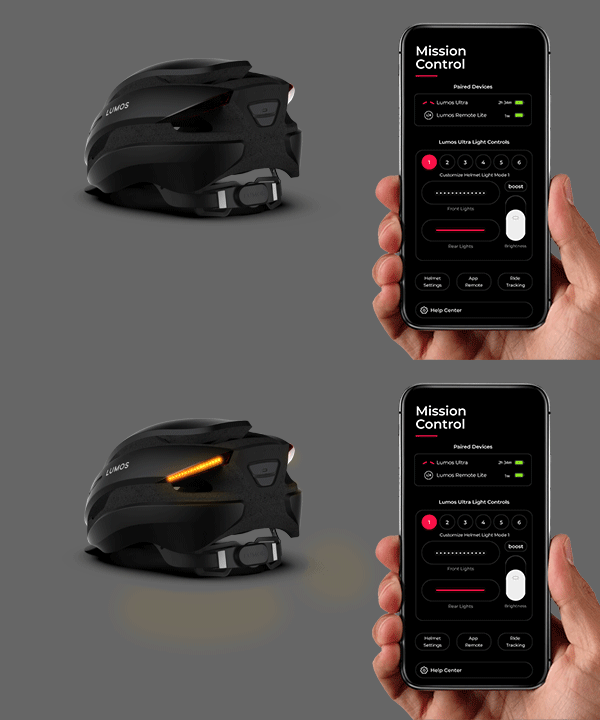
3. On the Dashboard, select the light setting (1, 2 or 3) you want to change and overwrite. Then remove the dashes that are displayed in the ‘Front Lights’ and/or ‘Rear Lights’ fields. Leaving a straight line, you get a solid light. Removing all dashes, the lights are off.
Tip: The more dashes you remove, the slower the flashing. One dash translates into one very quick flash.
-
Can I change the beeping of the helmet?

Yes, you can! The app allows you to customize the beeping of the helmet and your turn signals.
1. Launch the Lumos App and make sure your helmet is paired with the app.
2. Then press 'Helmet Settings' on your Dashboard.
3. Scroll down and you will find the Helmet Beeping Settings.
You can then select to activate or deactivate the turning signals beeps. You can also choose to get a single beep each time you use the remote OR get a beep every 0.5 or 2 seconds. At the same time, you can activate or deactivate the beeps of the helmet when turning it on or off.
-
My helmet won't turn on / off!

If your helmet won't turn on:
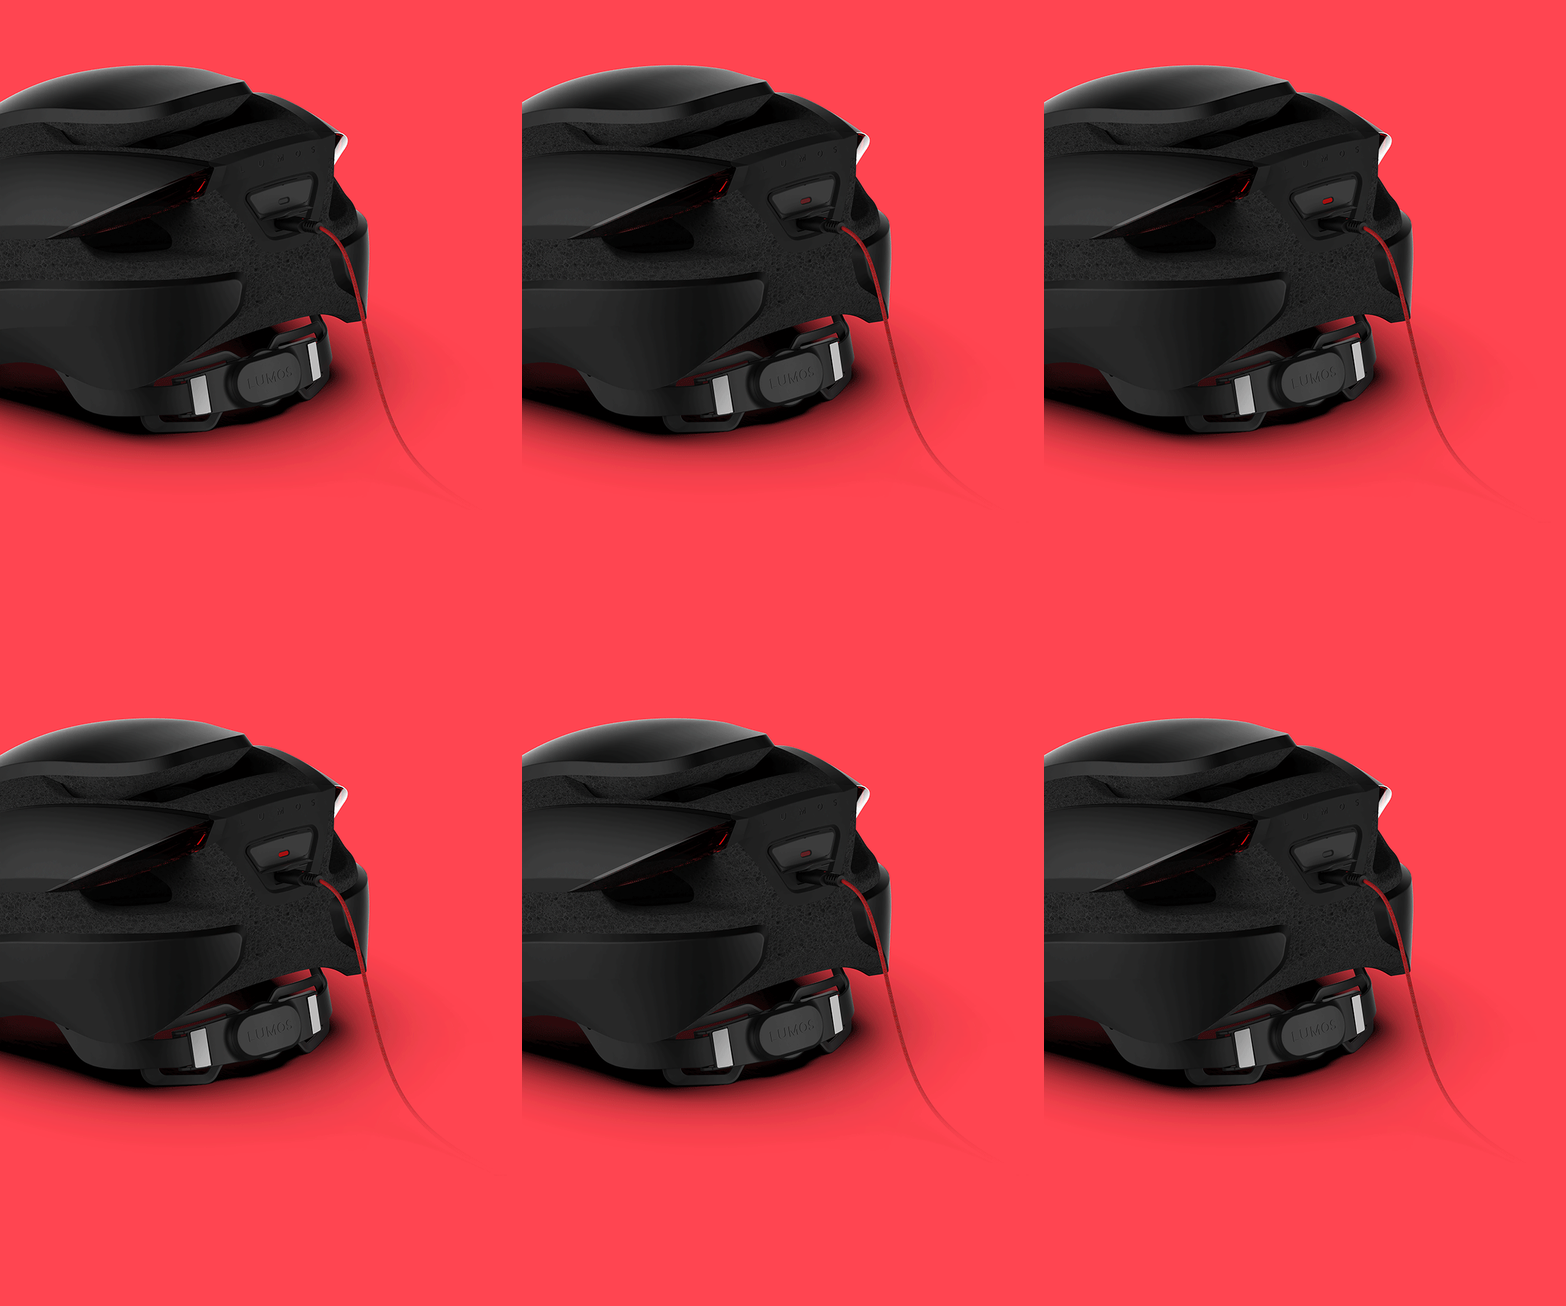
It may be totally out of battery. To fix that, just plug in the charging cable to charge it. Be sure that you've plugged in the cable fully. The charging port can be found on the back of the helmet. Lift the flap that is covering the port to avoid water coming in. Plug in the USB-C cable into the helmet and connect to a standard USB port or outlet.
The Ultra helmet has a light close to the power button which lights up red when charging and turns green to let you know when it's fully charged.
If your helmet won't turn off:
There are a few rare cases where we've seen that the helmet becomes 'jammed'. The helmet just stays in a solid mode, and doesn't turn off when the power button is held.
To solve this issue, simply plug it in to charge. This will put the helmet in a soft reset mode.
-
Why do the automatic brake lights not work?

The automatic brake light feature is an optional add-on for your Ultra helmet. To activate the automatic brake light feature, you will need to upgrade to the Lumos Remote that has a built-in sensor required to activate the warning lights on your Ultra helmet.
By default, your helmet arrives with the automatic brake light feature turned off. The feature will only work on your Ultra helmet if you have upgraded to the Lumos Remote and it’s paired with your helmet. There are two ways to turn it on. Please check out the how-to on how to activate the automatic brake light feature.
-
I can't update my helmet firmware: "DFU Device Disconnected"

Particularly users with a Samsung phone running on Android 10 may face an issue when updating the helmet's firmware.
If you have tried to update your firmware and you get the error message "DFU disconnected", you can try one of the following two options to resolve your issue. After a successful firmware update you will be able to use the Lumos App on your original phone as usual, also for future firmware updates.
OPTION 1 - Borrow an iPhone or any phone on Android 9 and below
If you can find an iPhone to borrow or any phone on Android 9 and below, this is the easier solution. Download the latest Lumos App version on your phone. Pair your helmet with that phone and download the latest firmware update on your helmet.
OPTION 2 - One-time manual firmware update
Download the latest version of the Lumos App on your phone. Then follow the steps below to get your helmet in the "Manual Update Mode".
To get your helmet in "Manual Update Mode":
1. Shortly press the power button on the helmet, and at the same time plug the charger into your helmet.
2. If done correctly your helmet is now in "Manual Update Mode" and the rear lights will be blinking orange alternating between left and right.
3. Open the Lumos App, while the helmet is turned on, and the firmware update screen will show up automatically. If this process does not start automatically, then you can force this by tapping "Helmet Firmware Update" in the Help Center of the Lumos App. Followed by tapping on "Update Firmware" which will start the firmware update.
4. When the new firmware is updated correctly the app will show "Success", then click OK.
Please carefully follow these steps as to succeed they need to be followed quite precisely.
No success?
Have you tried several times without success? Please email us at support@lumoshelmet.co with the subject line "DFU Device Disconnected - [phone model], [OS version], [Lumos App version]".
Please also include:
1. The S/N of your helmet - which can be found on the white sticker inside your helmet.
2. The description on what you've tried and where you get stuck.
3. The version of firmware on your helmet.
-
Pairing
-
How can I pair the Lumos Remote Lite?

You can find out how to pair your Lumos Remote Lite here.
-
Can I pair more helmets with the Lumos App?

Only one helmet can be paired with the Lumos App at any time. If you already have a Lumos helmet paired with your app, you can unpair that helmet and then pair with your Lumos Ultra helmet.
-
Can I pair my helmet with more than one smartphone?

The helmet can only be paired with one phone at a time. Everytime you want to use another phone you will have to pair the helmet with the Lumos App on that smartphone first.
-
Remote & Signalling
-
Why aren't the turn signals working?

The turn signals may not be working due to any one of the reasons below. Please first check that it isn't one of these issues and if you're still having trouble, do get in touch with us.
1. Your remote isn't paired with your helmet
You may need to (re-)pair your helmet with the remote.
2. The remote battery is empty
The helmet needs to be charged for it to work. Make sure you're charging it correctly (it lights up green if it’s fully charged). Please also check whether your remote lights up when pressing a button. If no light comes on, you may need to charge or replace the battery - depending on which remote you have.
3. The helmet is in pairing mode
This means the helmet was turned on by holding the power button. In this mode, the helmet is only looking for a remote or phone to pair with. It will not respond to your remote signals.
Solution: You'll need to turn it on normally for the helmet to recognize the remote. You can do so by giving the helmet's power button a short press top power it on.
-
My remote isn't working!

Ultra comes standard with the Remote Lite. However the helmet is also compatible with the Lumos Remote. Please first check which remote you have.
Lumos Remote Lite
1. Does the remote flash but not activate the helmet?
If so, it probably isn't paired! Simply follow the instructions on how to pair your remote.
2. It might be out of battery. Check whether the battery has been placed correctly inside the remote. Take it out and place it again, by following the markings inside the remote and on the battery. If that does not help, you may need to replace the 3V Lithium battery CR2032.
Lumos Remote
1. Does the remote flash but not activate the helmet?
If so, it probably isn't paired! Simply follow the instructions on how to pair your remote.
2. Is it charged?
Sometimes the remote may be out of charge, especially if it's just out of the box. Plug it into your charging cable and let it fully charge.
Be sure you're charging it in the correct orientation with the plug. There's a small divider which indicates the correct way to plug it in. When the remote is charging, the R button should light up red. When it is finished charging, the L button should light up green.
-
Smartwatch compatibility
-
Does the Lumos Ultra work with Android watches? Or other smartwatches?

Currently our gesture recognition feature only works with Apple Watch. It is compatible with series 1 and above; provided you run watch OS version 4.2 or above.
There are no plans to change this in the near future as there are too many variations between every single Android Wear devices, and none of them have the same market share as the Apple Watch. Unfortunately, at our team's current size it simply isn't feasible to work on expanding the gesture recognition feature to other smartwatches.
-
Shipping
-
My helmet arrived damaged!

Our support team is happy to help you. Please send an email to support@lumoshelmet.co so we can help troubleshoot your issue.
If it appears you've received a helmet with a defect within 30 days of its arrival, we can send you a replacement.
If your helmet is within the warranty period but beyond the 30 days period, you must contact us at support@lumoshelmet.co to open your case via email. You will need to send in the helmet at your cost for us to either fix or replace your helmet. Lumos will ship back a helmet to you at our cost. This process may take up to 6 to 8 weeks.
To claim a replacement within 30 days, please email us with:
A photo or video of your helmet with the defect. Be sure to include your name in a piece of paper with your name in the photo so we can prove that it is yours.
Your backer or order number (e.g. US#1234) or a copy of the receipt.
Please note that our warranty only covers our official channels of lumoshelmet.co, Kickstarter, Indiegogo or on our Amazon page. If you've bought it from an Authorized Retailer, you must bring up your warranty case with them.
-
Where is the rest of my order?

Your Lumos Ultra helmet comes shipped with a Remote Lite and charging cable in the box. If you've ordered extra accessories or helmets, they may be shipped separately in some cases as they might not be ready at the same time.
Please keep an eye on our updates on Kickstarter and your mailbox.
You will receive a notification by email once an item has been dispatched. That email will also inform you of what items you can expect to receive. You can be rest assured that any remaining items will be shipped out once ready and you will be notified accordingly.
Some general guidelines for Kickstarter backers:
- The Matrix or Street helmet will be shipped first, your Ultra helmet will follow when it is ready.
- The Ultra M size will get shipped first, and the S/XL size will follow when it is ready.
- Gloves may be shipped later and separately.
-
I received the wrong item!

If you are a Kickstarter backer, your answers on the Backerkit survey are leading. You will have received a confirmation email from Backerkit with all the details of your final pledge.
Please find your Backerkit survey answers to confirm you have received the correct item.
If you are sure you have not received the correct item, please send us an email at support@lumoshelmet.co so we can help look up your order and get you the item you ordered.
-
Other
-
FAQs didn't help

If these troubleshooting tips don't work, we'll be happy to assist you at support@lumoshelmet.co -- to speed up the process, please provide us with the following information.
A quick summary of what isn't working exactly and what troubleshooting tips you have tried.
Your backer or order number (e.g. US#1234) or a copy of your receipt.
Video proof of the issue.
Serial number of your helmet. You can find this on a white sticker in your helmet.
Your shipping address and phone number. Used for courier purposes only.
